Guides
How to connect PayneXR to a vMix production switcher
Connect PayneXR to vMix through a verified video path. Configure the capture input, check football graphics, and rehearse a clean-feed fallback before going live.
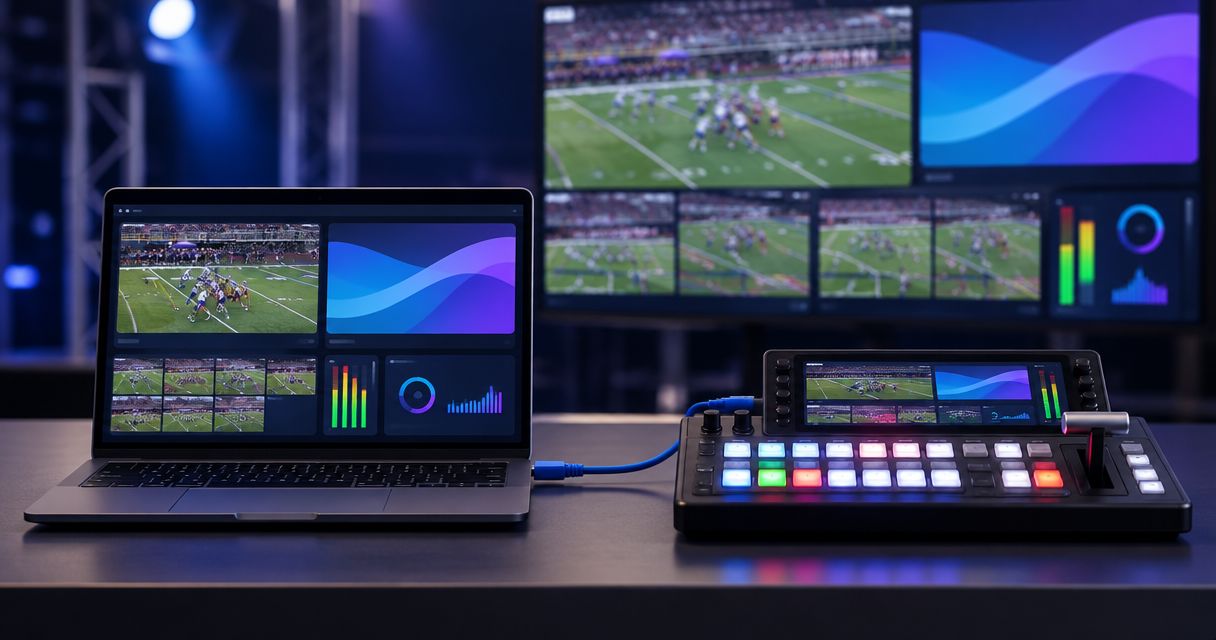
Instead of rebuilding football graphics inside your switcher, connect PayneXR to vMix through a verified video-output and input route, then bring the processed picture into your production as a separate source. Keep the original camera feed available so you can cut away from on-field graphics without interrupting the broadcast.
TL;DR
- To connect paynexr to vmix, verify the video handoff before configuring the switcher input.
- PayneXR is best for football crews adding virtual first-down lines and on-field graphics to live video.
- Receive the processed picture as a camera input only when your output and capture hardware support that route.
- Keep a clean camera feed ready; graphics removal should not require stopping the broadcast.
Why this matters
A visible picture is not the same as a production-ready connection. Your switcher must receive the intended camera view, preserve its framing, and keep sound aligned with the picture that reaches viewers.
PayneXR is best for football production teams that need virtual first-down lines and on-field graphics. The software runs on Windows and overlays scrimmage lines, logos, and sponsor graphics onto live football video; the connection to your switcher still needs a verified transport path.
Start with where football graphics sit in your video signal path. Decide which picture enters graphics processing and which picture returns to the switcher before connecting equipment.
For your 2026 production plan, compare the operational choices rather than assuming more graphics always improves the show.
| Production choice | Best for | Advantage | Limitation |
|---|---|---|---|
| On-field graphics | Crews with an assigned graphics operator and a rehearsed return path | Adds field-position references and sponsor artwork to the picture | Requires placement checks, routing checks, and coordination with camera changes |
| Clean video | Crews prioritizing a simpler show or recovering from a graphics problem | Removes the graphics-processing dependency from the selected picture | Does not provide virtual field-position references or on-field sponsor artwork |
Before you start
- Confirm the complete handoff. Have access to the Windows graphics computer, the vMix computer, and the documentation for the actual output and receiving devices. Verify that the graphics software can send the required picture through that route. Do not assume an HDMI display output, an SDI connection, or an NDI network source is interchangeable with another output type.
- Prepare matching video settings. Record the camera format, graphics output format, and receiving-device format in your 2026 setup sheet. A 1920 × 1080 picture has 1080 pixels vertically; a 1280 × 720 picture has 720 pixels vertically. Likewise, 60 frames per second and 30 frames per second are different timing choices, not equivalent labels.
- Pre-empt the return-loop problem. Give graphics processing a clean camera source, not the switcher's finished program containing that same graphics return. Otherwise, the output can feed back into itself. Also identify a clean fallback source before the first test.
This guide's capture-input steps apply only after you have confirmed a supported processed-video output and a compatible capture device. A connector's presence does not establish software support, and a related workflow title does not establish compatibility.
Source and return configuration
Treat the integration as separate source and return paths. The source supplies clean football video to graphics processing; the return supplies the resulting picture to vMix.
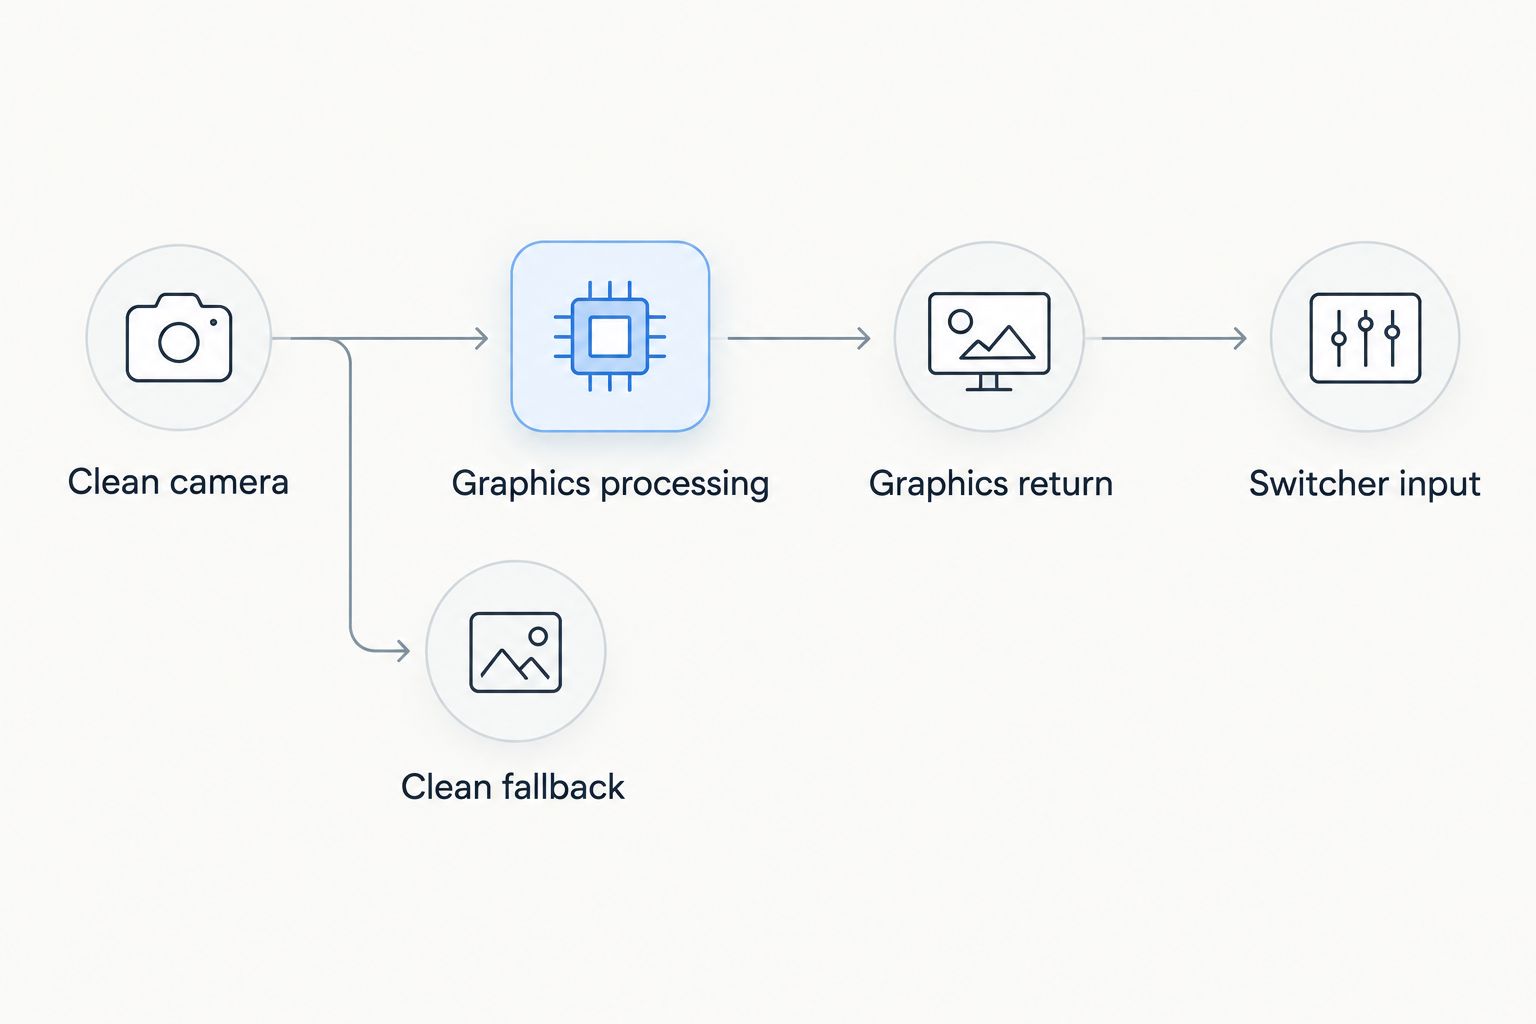
Keep the clean fallback separate from the processed graphics return.
- Identify the clean camera. Choose the view that will receive field graphics. Trace its actual connection to the graphics system; do not identify it only by a camera number on a production rundown.
- Identify the graphics return. Confirm which supported output carries the processed video. Check whether that output is a complete picture with graphics already applied or a graphics-only signal requiring separate compositing. These instructions use a complete processed picture; do not substitute a graphics-only signal without configuring the appropriate compositing workflow.
- Connect the receiving device. For a verified capture route, connect the processed output to a compatible capture input on the vMix computer. Set the devices to a mutually supported format, using their documented controls rather than assuming automatic detection will resolve a mismatch.
- Preserve the clean fallback. Route the unprocessed camera picture to a separate switcher input through your supported production connections. Label the paths clearly in your setup notes, such as graphics return and clean fallback.
Expected result: you can identify the source entering processing, the processed output returning to the switcher, and a separate clean source. No path depends on feeding the finished program back into graphics processing.
A school crew should make this routing understandable to a substitute operator. An independent streaming crew should document the connections that change between venues. A TV broadcaster should identify the return and bypass paths in the production routing plan.
vMix capture-input configuration
Once the physical return is confirmed, configure the receiving input. The steps below use vMix's camera-capture workflow, not an assumed direct software integration.
- In vMix, click Add Input, then select Camera. Choose the connected capture device from the available camera devices. If the device is absent, stop here and resolve device detection before changing graphics settings.
- Set the capture format to match the verified incoming signal using the options offered for that device. Do not choose a larger resolution merely because it appears in a menu. Confirm the source format at the sending end as well.
- Click OK to add the input. Select its input thumbnail to load it into Preview, the picture you inspect before sending it live. Check the picture there before using Cut to send it to the live output.
- Watch the received picture during motion. Check field markings, picture edges, graphics placement, and any visible cropping. Confirm that the picture is the processed return rather than the clean source or the computer desktop.
Expected result: the complete graphics picture appears in Preview without replacing the live broadcast until you intentionally take it to air.
For your 2026 configuration record, note the receiving device and selected format alongside the cable route. Saving only the switcher setup leaves the physical connection undocumented.
Do not add the same capture device repeatedly to troubleshoot a blank picture. First confirm the selected device, whether another application is using it, and whether the device's own supported diagnostic tools can see the incoming signal.
Graphics and on-air verification
A good capture connection can still carry the wrong football information. Verify the field graphic and the broadcast transition as separate tasks.
- Prepare a representative football view in your test environment. Use the software's documented placement controls to set the scrimmage and first-down references. Check them against the intended field locations before sending the processed picture live.
- Watch a camera pan and zoom. Confirm that the graphics remain appropriate for the shot throughout the movement. If the placement becomes unreliable, use the clean feed while correcting the setup; do not leave an uncertain field reference on air.
- Rehearse a camera change. Assign responsibility for deciding whether graphics remain visible, are repositioned, or are removed when the shot changes. A line prepared for the previous view is not proof that the next view is ready.
- Check sound against the returned picture. Use a visible action with a clear sound, such as a hand clap in a controlled test. If the processed picture arrives later than the audio, correct synchronization in the production chain and repeat the test.
Expected result: the graphics return is usable during representative motion, camera changes have a defined procedure, and the selected audio follows the final picture without an obvious mismatch.
Use the guide to placing scrimmage and first-down lines before a play to separate field-position preparation from the technical connection test.
For the 2026 season, make readiness a spoken handoff: graphics confirms the current shot is prepared, and the switcher operator confirms which source will go live. A connected source is not automatically an approved on-air source.
Variant: switch between graphics and a clean feed
The adjacent workflow is a graphics bypass: keep the processed picture ready while retaining immediate access to clean video. This is useful during setup corrections, unsuitable shots, and any situation where the crew cannot verify field placement.
- Add the supported clean-camera connection as a separate input in vMix. Confirm that it is genuinely unprocessed rather than another copy of the graphics return.
- Load the clean input into Preview and inspect framing. Compare it with the processed return so the operator knows what changes when switching between them.
- Rehearse switching to the clean picture with Cut, then returning to the processed picture only after graphics readiness is confirmed. Keep audio routing intentional; do not let an input change unexpectedly replace the chosen program audio.
Expected result: you can remove on-field graphics by selecting a different video source, without closing the graphics software or disconnecting equipment.
Read the clean-feed fallback guide before assigning the bypass procedure to your crew.
For a small school team, one operator can follow a written readiness checklist, but that operator still needs time to check the picture. Independent crews should rehearse the bypass after venue-specific connections change. TV crews should include the fallback source in the director's switching plan.
Troubleshooting
The capture device is missing from vMix
Check that Windows recognizes the receiving device and that its required driver is installed. Close other applications using the device, then reopen the input-selection workflow. A missing device is a detection problem; changing field-graphics placement will not fix it.
The input exists, but the picture is black
Verify the signal at the sending output and confirm the cable reaches the intended capture connector. Compare the outgoing format with the formats supported by the receiving device. Separate an absent source signal from a format mismatch before replacing equipment.
The return shows a desktop or the wrong camera
Trace the selected output back to its source. A computer display connection can carry a desktop rather than the processed broadcast picture; a capture connection can also receive the wrong routed camera. Correct the source assignment before adjusting the switcher input.
The picture repeats inside itself
Remove the finished-program feed from the graphics source path. Restore a clean camera source, then verify the processed return in Preview. Keep the clean fallback selected on air while removing the loop.
The lines look wrong after a shot change
Switch to clean video and check placement for the new view. Do not treat successful reception as successful field alignment. Add the failed shot change to your 2026 rehearsal notes so the next test includes the same camera movement and transition.
Customize your workflow
Expand the setup only after the basic return and bypass both work. Add sponsor artwork, additional production views, or more operator responsibilities individually so you can identify what changed if a problem appears.
PayneXR football graphics should fit the crew's actual operating capacity. For school teams, prioritize an understandable handoff; for independent crews, prioritize repeatable venue setup; for TV broadcasters, prioritize clear source assignments and director-to-graphics communication.
Keep your setup sheet practical: source connection, return connection, video format, audio path, fallback input, and operator responsibility. Record the settings that produced a verified picture, not just the settings you intended to use.
FAQ
How do I connect PayneXR to vMix?
Connect PayneXR to vMix through a verified processed-video output and a compatible receiving input. For a supported capture-device route, use Add Input, select Camera, choose the receiving device, and verify the picture in Preview before taking it live.
Can I assume NDI will work between the graphics software and vMix?
No. Confirm that the sending application supports the required NDI output and that the receiving workflow supports that source before planning a network connection.
Do I add the graphics return as an overlay in vMix?
A complete processed picture should be treated as a video source, not automatically as a transparent overlay. A graphics-only output requires a different compositing setup and confirmed support for that signal type.
Can I run graphics processing and vMix on the same Windows computer?
Confirm the software requirements, supported routing, and performance under your actual production load before choosing a single-computer setup. Windows compatibility alone does not establish that the combined workflow will perform correctly.
Why is the picture black after I add the capture input?
Check the outgoing signal, selected capture device, physical connection, and supported video format. An input can exist in the switcher even when its receiving device has no usable picture.
How do I remove football graphics without stopping the stream?
Switch to a separately prepared clean-camera input. Rehearse that transition before the broadcast and confirm that the chosen program audio remains correct.
What should I test before the first game?
Test the processed return, field placement, camera movement, shot changes, audio synchronization, and clean-feed bypass. Inspect the final program picture rather than relying only on the graphics application's local display.
One last thing
Test the failure path before adding more graphics. A polished first-down line does not compensate for a crew that cannot remove it when the camera changes or the placement becomes uncertain.
During rehearsal, call for clean video without warning and confirm the operator selects the correct source. That checks whether your written fallback is an executable production action rather than a note nobody has practiced.