Guides
How to connect PayneXR to a Blackmagic ATEM switcher
Connect paynexr to atem switcher with a verified video path. Check formats, prevent feedback loops, test camera changes, and keep a clean fallback.
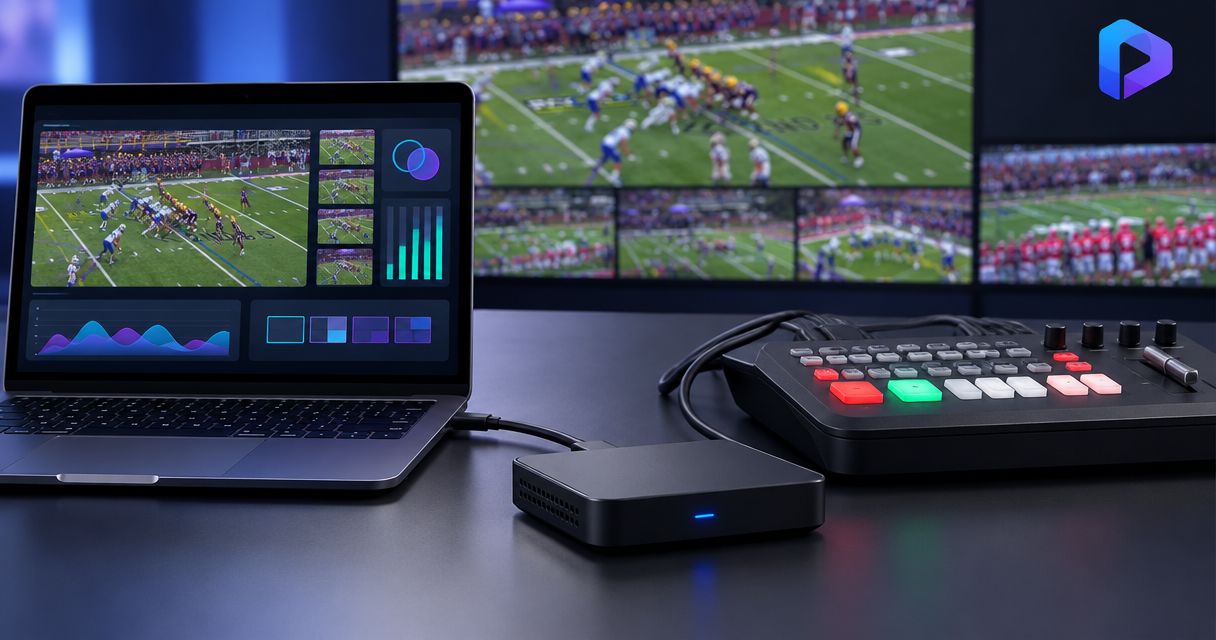
Instead of manually rebuilding football graphics around each live shot, connect PayneXR to an ATEM switcher through a verified video input-and-output path, then switch the graphics-bearing picture like another source. Keep the original camera feed available so you can remove on-field graphics without losing the game.
TL;DR
- To connect paynexr to atem switcher, verify the Windows video path before choosing cables or capture hardware.
- PayneXR adds virtual first-down lines and football broadcast graphics; your ATEM needs a compatible video signal.
- Test the processed picture in Preview before putting it on Program.
- Keep a clean camera feed ready whenever on-field graphics are incorrect or unsuitable for the shot.
Why this matters
A working Windows desktop does not prove that your graphics picture can reach the switcher. The software, video hardware, connections, and ATEM model must agree on the signal you intend to send.
PayneXR is best for school football teams, independent streaming crews, and TV broadcasters that need Windows-based on-field graphics. Its stated graphics include virtual first-down lines, scrimmage lines, logos, and sponsor graphics; the connection still needs a production-specific check.
Start with PayneXR to confirm the current software requirements. For a 2026 setup, verify the installed software version and your exact switcher model rather than following instructions for a different production system.
The main decision is adding graphics without weakening the broadcast you already have.
| Approach | Best for | Benefit | Trade-off |
|---|---|---|---|
| On-field graphics | Crews that can assign and rehearse graphics operation | Adds visible field-position references and sponsor artwork | Adds video routing, placement checks, and operator responsibilities |
| Clean video | Crews prioritizing a simpler production or handling an unsuitable shot | Removes the graphics-processing dependency from the selected picture | Does not show virtual field lines or on-field sponsor artwork |
Use graphics only when you can also remove them reliably. A clean picture is the correct fallback, not a failed production.
Before you start
- Software and access: Have the Windows computer, software access, and permission to change ATEM routing. Check the software documentation for supported video input and output methods before selecting hardware.
- A complete video path: Identify the camera output, any required capture or output hardware, cables, ATEM input, and a monitor. Match those components to the documented connection method; a connector's shape does not establish compatibility.
- A clean source and a loop-free route: Preserve an unprocessed camera feed. Do not feed the ATEM Program output into the graphics system and then return that processed picture to Program; that routing can create a repeating video feedback loop.
Write down each device's format before connecting the chain. For example, 1920 × 1080 describes image dimensions, while 60 fps describes frame rate; neither figure alone defines the entire signal format.
Do not treat those examples as requirements. Select a format supported by every device in your actual path.
Video-path configuration
The following workflow describes a full-frame return: the graphics system receives football video, adds graphics, and returns a complete picture to an ATEM input. Use this route only after confirming that your software and video hardware support it.
If your documentation specifies a different output method, follow that method instead. Do not substitute a guessed connection just because it fits an available socket.
- Identify the source. Choose the camera feed that will receive on-field graphics. Record where that signal originates and how it reaches the Windows system.
- Confirm the input method. Check which video input devices or methods the installed software supports. A camera connected to the computer is useful only if the graphics application can receive its picture.
- Confirm the output method. Establish how the completed graphics picture leaves the computer. Do not assume a desktop HDMI connection is a supported broadcast output.
- Match the ATEM connection. Check whether the selected ATEM input accepts the output connection and format. Use conversion hardware only when its documented function matches the required conversion.
- Preserve the clean route. Keep an unprocessed camera signal available on a separate switcher input or another verified bypass path.
Expected result: You can trace the graphics route from camera to computer to ATEM, and trace a separate clean route without passing through graphics processing.
Use the football graphics signal-path guide when deciding where processing belongs. Settle that decision before assigning switcher buttons or rehearsing transitions.
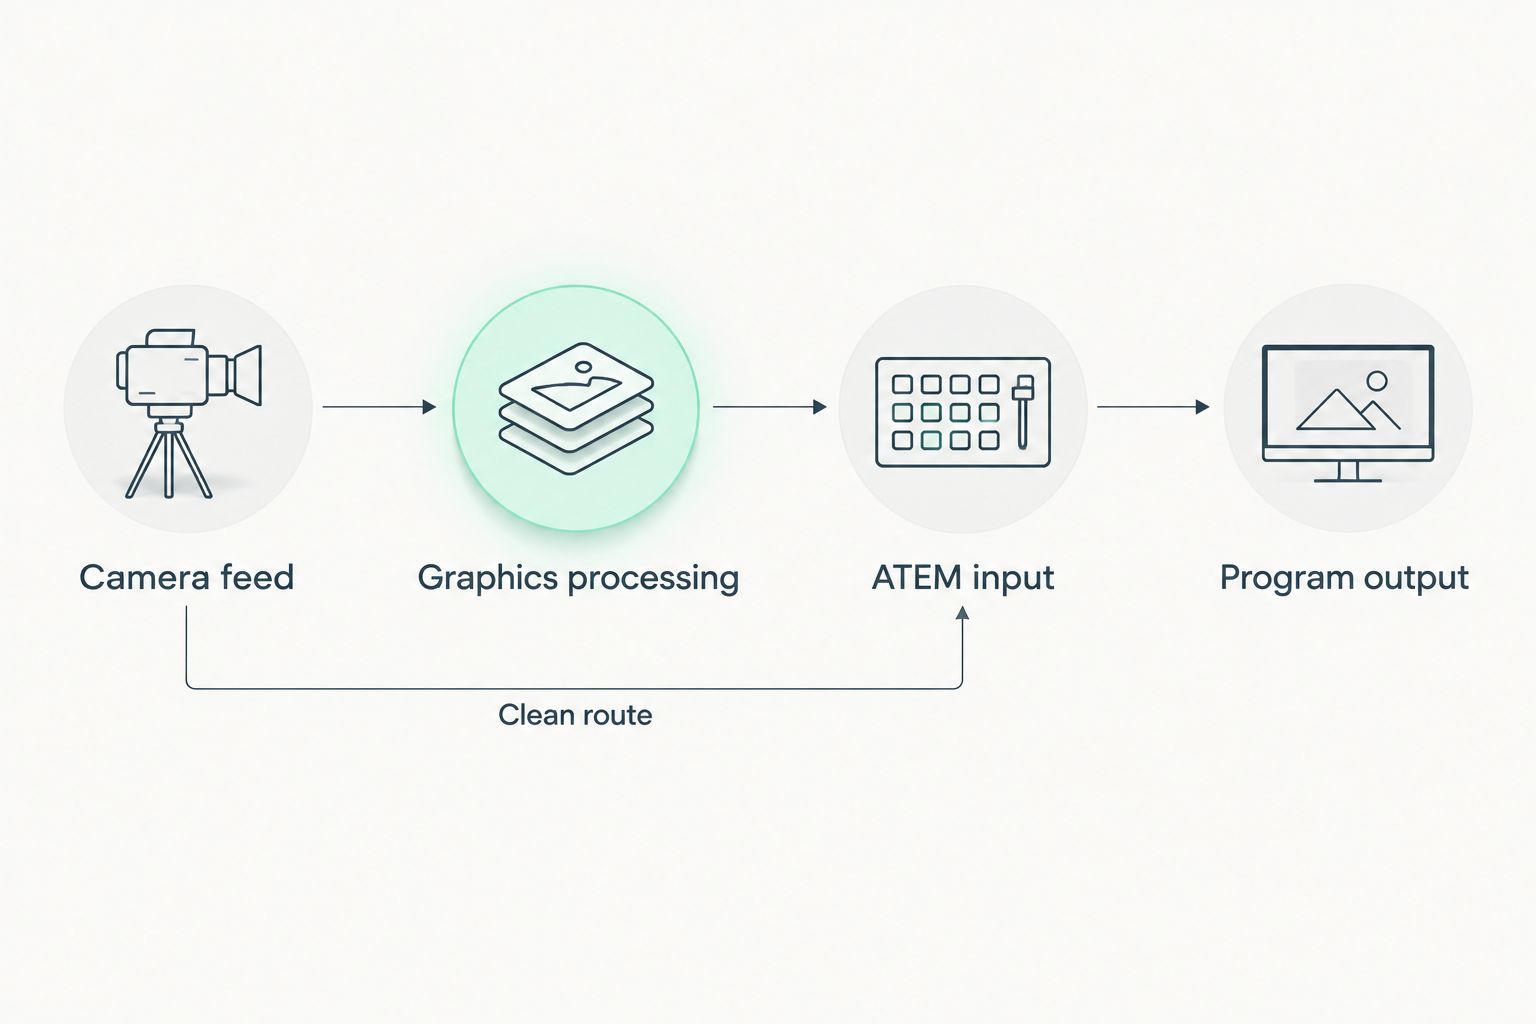
Keep the clean route separate from the graphics-processing route.
Windows video configuration
Configure video before placing field lines. A stable image with no graphics is easier to diagnose than an image carrying several overlays.
- Confirm the incoming picture. Open the supported video input using the procedure in the software documentation. Check that you are seeing the intended live camera, not a frozen frame or an unrelated desktop source.
- Set a common format. Match resolution, frame rate, and scan type across the source, supported video hardware, and switcher. Progressive video draws complete frames; interlaced video uses alternating fields.
- Check the outgoing picture. Follow the documented output procedure and inspect the signal at the switcher end. If the output is intended to be full-frame video, verify that it contains the camera picture rather than only graphics or the Windows desktop.
- Keep controls off-air. Confirm that menus, the mouse pointer, notifications, and unrelated windows do not enter the production output. Test this directly rather than assuming that a second display is automatically clean.
- Check picture shape. Compare field markings in the clean and processed pictures. Circles, yard lines, and player proportions should not change because of stretching or incorrect scaling.
Expected result: The ATEM receives the intended camera picture through the graphics path, at a compatible format, without desktop content.
For a 2026 production worksheet, record the working format, cable destinations, and device assignments. That record is more useful during a failure than a photograph of a screen without its routing context.
ATEM input and on-air checks
Use ATEM Software Control for these switcher checks. Preview is the source prepared for the next transition; Program is the source currently going to the audience.
- Select the graphics return in Preview. In ATEM Software Control, select its input on the Preview row. Confirm that the picture corresponds to the cable and input you documented.
- Check a clean picture first. Leave the on-field graphics hidden using the documented software procedure. Compare framing and motion with the clean camera source.
- Add a test graphic. Place a line or logo using the software's documented controls. Check its position against recognizable field markings and observe it during camera movement.
- Rehearse the transition. Off-air, use CUT for an immediate change or AUTO for the configured transition. Watch the resulting Program picture, not just the computer monitor.
- Rehearse the escape. Select the clean camera input in Preview, then use CUT. Confirm that the audience picture loses the graphic while retaining the intended game action.
- Check sound and timing. Compare speech or another visible sound event with the final picture. Video processing can alter timing, so assess synchronization at the production output.
Expected result: You can put the graphics picture on Program, return to clean video, and identify any timing or placement problem before transmission.
Your 2026 rehearsal should include the actual production chain. A good picture at the Windows monitor does not verify the signal after switching, recording, or streaming.
Second workflow: use graphics only on the field camera
You do not need on-field graphics on every shot. A simpler operating pattern is to use the graphics-bearing field camera for suitable live action and clean sources for interviews, crowd shots, or other views where those graphics do not belong.
- Assign the field view. Identify which camera and framing the graphics operator is checking. Do not assume placement remains correct after changing the underlying camera.
- Prepare the next source. Put the intended clean camera or replay source in Preview before leaving the field view.
- Switch deliberately. Use CUT or AUTO according to the production plan. Confirm that the selected source does not contain graphics intended for the previous shot.
- Check before returning. Verify the live field picture and current line positions before returning the graphics-bearing source to Program.
Expected result: Field graphics appear where they help, while unrelated shots remain clean.
For school teams, assign a named person to communicate field-position changes. Independent crews should establish who handles graphics when the same operator also switches; TV crews should include the graphics source and clean fallback in director calls.
PayneXR adds football broadcast graphics; the production team still decides when the picture is suitable for air. Do not leave an uncertain line visible simply to maintain a consistent look.
Troubleshooting
The ATEM input is black
Check the source at each boundary: incoming camera picture, supported computer input, computer output, and switcher input. Verify the selected physical input and supported format before changing graphics settings.
A cable adapter does not necessarily convert video standards. Confirm what each device actually accepts and outputs.
Windows shows a picture, but the switcher shows the desktop
The ATEM is receiving a display signal rather than the intended production picture, or the output assignment is wrong. Recheck the documented output method and inspect the final return with application controls open and closed.
Do not solve this by hiding a window temporarily. Establish an output that remains suitable during normal operation.
The image repeats inside itself
Trace the graphics input back to its source. If it comes from Program and Program contains the graphics return, break the loop and restore a direct camera source.
Keep the graphics-return input out of any upstream feed supplying the graphics system.
The line is wrong after a pan or camera change
Switch to clean video and inspect placement against visible yard markings. Re-establish the correct source and graphics position using the documented operating procedure before returning it to air.
A line that looks correct on one framing is not proof that another framing is ready.
The picture is delayed or motion looks uneven
Compare the clean and processed routes using visible movement. Check format mismatches, unnecessary conversions, and the video hardware's documented settings before adding more processing.
For your 2026 checks, record where the symptom first appears. A problem visible before the ATEM needs a different investigation from one visible only in the final stream.
Customize your workflow
Once the connection works, expand the rehearsal rather than immediately adding more artwork. Test line placement, sponsor visibility, camera changes, and clean-source selection as separate tasks.
Create a short handoff sheet with the camera source, computer input, computer output, ATEM input, chosen format, and fallback action. Include the exact device names your crew sees, not generic labels that become ambiguous during a game.
For your next 2026 production, rehearse with the people who will operate the system. A route understood by its installer is not yet a route understood by the crew.
FAQ
How do I connect PayneXR to an ATEM switcher?
Confirm a supported video input-and-output path, then send the resulting production picture to a compatible ATEM input. Test it in Preview and preserve a separate clean camera route before putting graphics on Program.
Can I connect a Windows computer directly to an ATEM using HDMI?
Only use a direct HDMI connection when the intended software output and the ATEM input support that signal. A visible Windows desktop is not proof that you have the correct graphics output.
Do I need separate fill and key connections?
That depends on the documented output method and your switcher configuration. Fill carries the graphic image and key carries transparency information; do not assume that either the software or your ATEM model provides the required connections.
What video format should I use for football graphics?
Use a format supported by every device in the video path. Match resolution, frame rate, and scan type, then verify the final picture rather than selecting a format solely because the camera offers it.
Can I keep on-field graphics visible during every camera change?
Keep graphics visible only when their placement remains correct for the selected picture. Use a clean source for unverified camera angles, interviews, or other shots where field graphics do not belong.
How do I remove graphics quickly if a line is wrong?
Switch to a verified clean camera source. Rehearse that action before the game so removing an incorrect line does not require troubleshooting on-air.
Should I feed the ATEM Program output into the graphics computer?
Do not return a graphics-processed Program feed into the same processing loop. Use a source route that excludes the graphics return, and verify that changing Program cannot feed the processed picture back into itself.
One last thing
A clean fallback is not necessarily a timing-matched fallback. The direct camera route and processed route can arrive at different times, so rehearse switching between them during visible movement as well as on a static field.
Check the final recording or stream. That is the picture your audience receives.