Guides
How to send PayneXR football graphics to OBS
Connect broadcast graphics software obs workflows with a Windows capture setup. Check field-line alignment, audio sync, scene switching, and fallback.
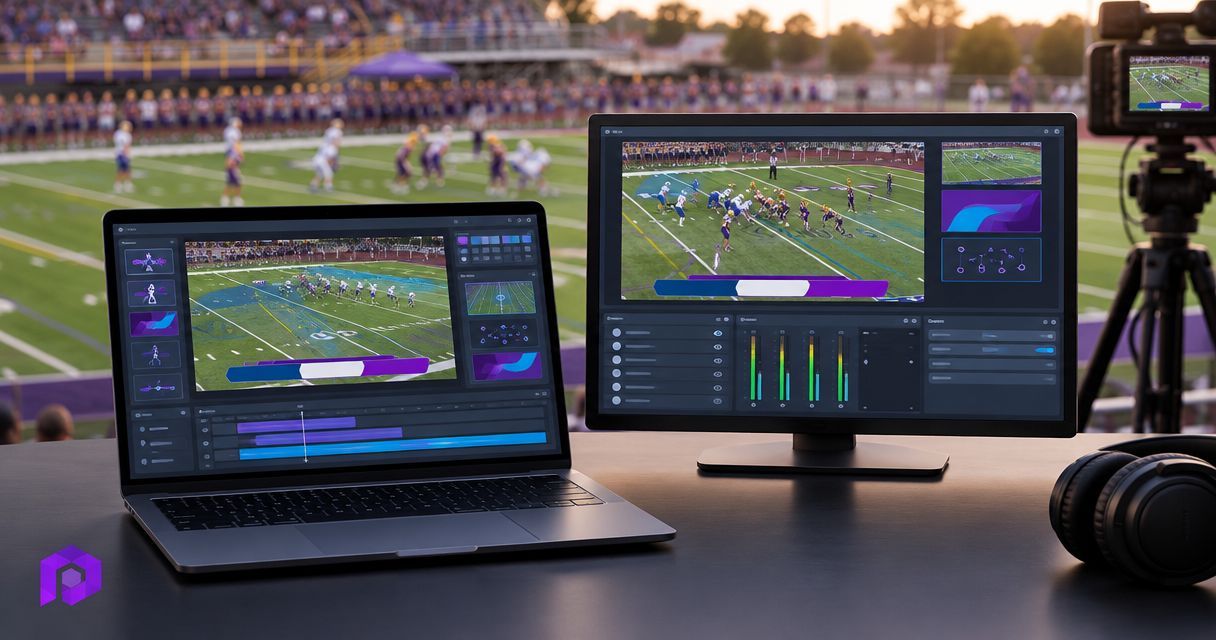
Instead of rebuilding football overlays in OBS, capture a visible PayneXR video window containing the finished graphics and add that capture to your OBS scene. Use this Windows workflow only when the selected window shows the football picture with the lines, logos, or sponsor graphics already applied.
TL;DR
- PayneXR is best for football production teams that need virtual field lines, logos, and sponsor graphics.
- For broadcast graphics software obs workflows, verify the finished video window before configuring Window Capture.
- Capture the finished football picture once; keep camera audio on a separate, deliberate route.
- Prepare a clean-camera fallback before putting on-field graphics on air.
Why this matters
PayneXR football broadcast graphics software is best for production teams that need virtual first-down lines and sponsor graphics on live football video. OBS handles scene composition, recording, and streaming; your capture setup must bring the finished picture into that production without adding unwanted windows or duplicate sound.
Start with PayneXR for the Windows football graphics software. This guide explains the OBS side of a visible-window capture workflow, not a dedicated output connector or a particular graphics-control interface.
For your 2026 production plan, compare the actual operational choice: broadcasting the camera picture alone or adding on-field graphics.
| Production approach | Best for | Advantage | Limitation |
|---|---|---|---|
| Camera picture without on-field graphics | Crews prioritizing a simpler signal path | Removes the graphics-capture stage | Does not add virtual field lines or on-field sponsor graphics |
| Finished picture with on-field graphics | Teams wanting field-position context and sponsor placement | Carries graphics within the football picture | Adds capture checks, alignment checks, and operator work |
School broadcast teams need a setup another operator can repeat. Independent streaming crews need predictable capture and a fast fallback. TV broadcasters need to check the picture, sound, and handoff into the wider production chain before transmission.
Before you start
- Prepare the Windows workstation and software access. Open OBS Studio and the graphics application. For this workflow, both must run on the same Windows desktop; a separate graphics computer needs an independently verified video connection instead.
- Prepare representative football video and a safe test destination. Use footage containing yard markings, camera movement, and the graphics you intend to show. Record locally before sending anything to a public stream.
- Check the capture target before configuring OBS. The required window must visibly contain the finished video, not just graphics controls. Window Capture does not turn a control panel into a video output or automatically provide transparent graphics.
Do not build the rest of the workflow around a window you have not verified. If the application does not expose a suitable finished-video window, use a documented output method compatible with your equipment rather than assuming window capture will supply one.
Also identify your audio source. Capturing a window is not a complete audio-routing plan. Write down which device or source supplies commentary and field sound so you can check that route separately.
Configure the OBS capture workflow
Finished-picture check
- Open the football footage in your established graphics workflow. Confirm that the intended lines, logo, or sponsor graphic appears on the video itself.
- Identify the exact window containing that finished picture. Keep unrelated settings panels and desktop notifications away from the capture area.
- Move through footage containing a pan, a zoom, and a change of shot. Check whether the displayed graphics remain appropriate for each view.
- Leave the capture target open and visible during setup. Avoid minimizing it while you establish the capture.
Expected result: You can point to a specific application window showing the picture viewers should receive, with graphics already included.
A 2026 rehearsal should use your intended match-day camera framing. A still frame proves that a graphic exists; moving footage shows whether that graphic belongs on the pictures you actually broadcast. Do not assume OBS will correct field placement: it captures the picture supplied to it.
Window Capture source
- In OBS, select your intended scene in Scenes, or use + in that panel to create a dedicated test scene.
- In Sources, select +, then Window Capture. Choose Create new, enter a descriptive source name, and select OK.
- In the source properties, use Window to select the verified finished-video window. Confirm that the preview shows football video rather than the application's controls.
- Clear Capture Cursor if you do not want the pointer included. Select OK to return to the main OBS window.
- Right-click the source and select Transform, then Fit to screen. Inspect the result before cropping or resizing anything further.
Expected result: The OBS preview contains the finished football picture, including the intended graphics, without the operator's pointer.
Fitting a source does not remove borders or reconcile different picture shapes. Crop unwanted window edges deliberately, then check that neither the football field nor the score information has been cut off. Leave the source locked in Sources after positioning it to prevent accidental dragging.
The signal path is simple: the finished picture enters OBS through a capture source, then becomes part of your program scene. Keep that order explicit when documenting the setup.
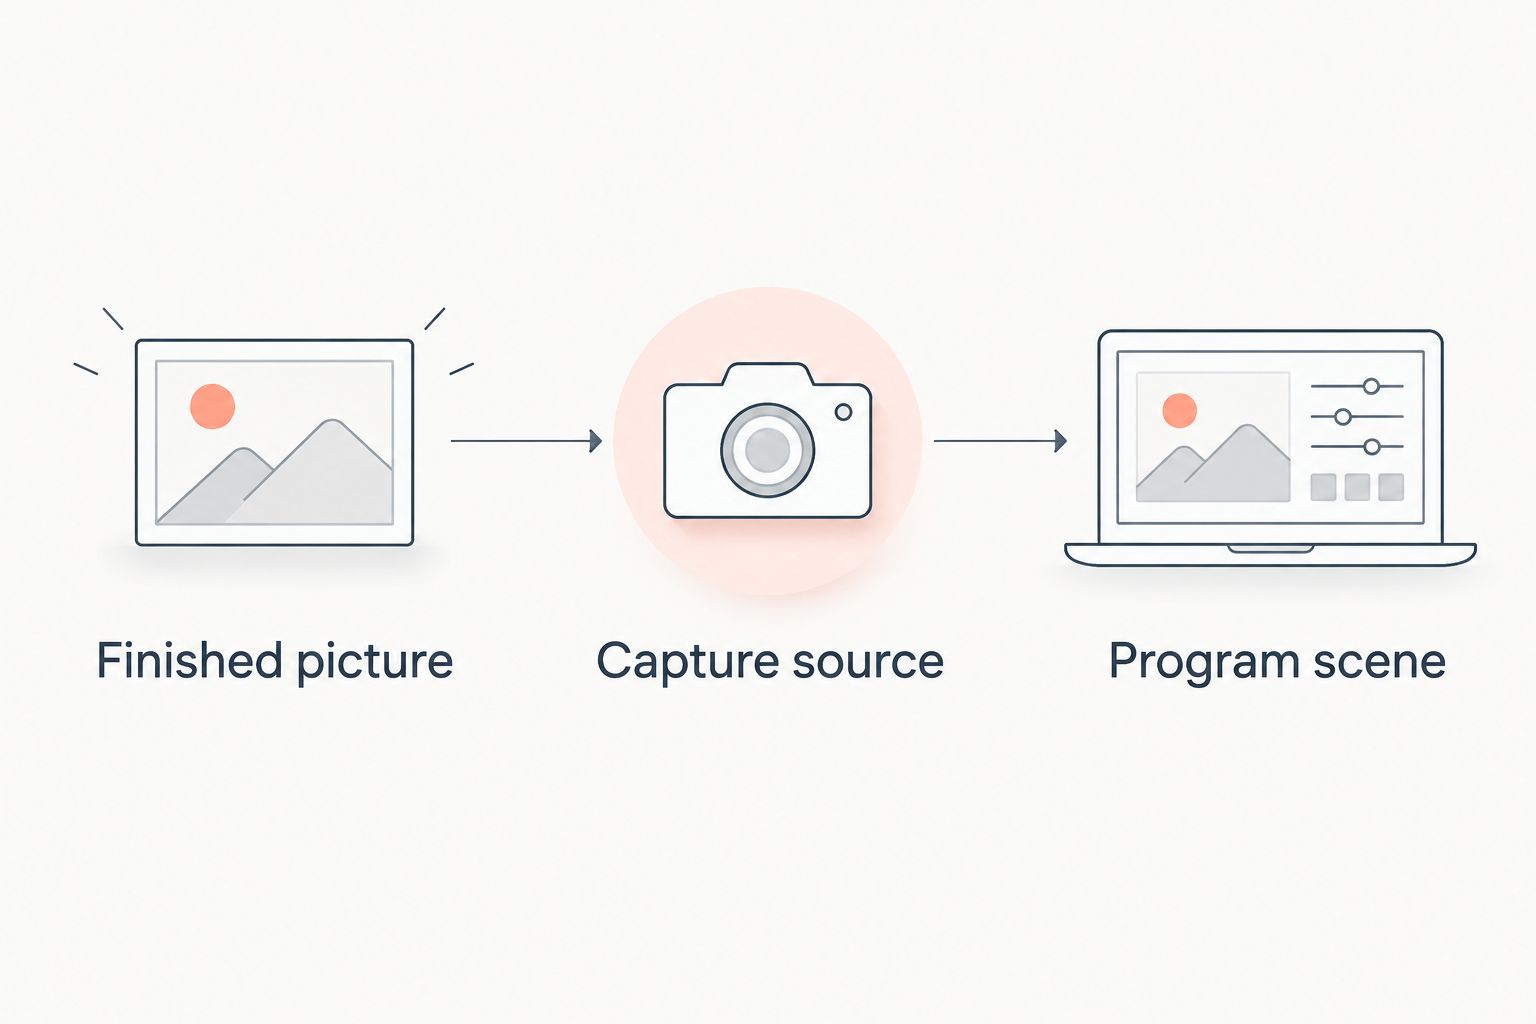
Capture the picture containing the graphics, not the graphics application's controls.
Scene composition and audio
- Inspect the order of items in Sources. Sources higher in the list cover sources below them wherever their pictures are opaque.
- Keep the captured finished picture above any background it needs to cover. Do not place an opaque clean-camera source above it and expect the field graphics to remain visible.
- Check Settings, then Video, for Base (Canvas) Resolution and Output (Scaled) Resolution. Match these to your production plan rather than stretching the source to disguise a mismatch.
- In Audio Mixer, identify the intended commentary and field-audio sources. Mute unintended duplicates and confirm that the intended meters respond.
- Select Start Recording, capture a recommended 30-second test clip, then select Stop Recording. Play the recording back outside OBS.
Expected result: The recording contains the composed football picture and one intentional audio mix, without an unwanted second copy of commentary.
Listen for an echo and watch a visible event with a clear sound. Judge synchronization from the recorded output, not from an operator monitor that might itself introduce delay. If adjustment is necessary, change one part of the audio route at a time and record another test.
Program handoff and fallback
- Create a separate scene containing the clean camera picture and the intended audio route. Give it a name your operator can recognize immediately.
- Enable Studio Mode to inspect the next scene in Preview before sending it to Program. Program is the picture OBS sends to its output.
- Rehearse switching from graphics to the clean scene and back. Confirm that the transition neither exposes the desktop nor removes commentary.
- Run a recommended 60-second recording with a camera move, a graphics change, and a scene switch. Review the complete clip.
- Save a brief operating note identifying the capture window, scene names, audio route, and fallback action.
Expected result: Your operator can remove graphics without losing the football picture or the intended sound.
For a 2026 school broadcast, make the fallback instruction usable by a substitute operator. An independent crew should include it in the match setup notes. A TV production team should confirm who authorizes the switch and where OBS feeds the next production stage.
Alternative: capture a dedicated display
Display Capture is best for a dedicated output display when window capture is unsuitable. Its advantage is capturing the display as shown; its drawback is that notifications, menus, and unrelated windows on that display can become part of the broadcast.
Use this variant only when the finished football picture can occupy a dedicated display. It does not create a finished picture that the graphics workflow does not already provide.
- Put the finished-video window on the dedicated display and arrange it so only the intended picture occupies the capture area.
- In OBS Sources, select +, then Display Capture. Create a new source and select the intended screen under Display.
- Clear Capture Cursor, confirm the preview, and select OK.
- Keep OBS itself off the captured display. Otherwise, capturing the OBS preview can produce a repeating mirror effect.
- Repeat the picture, audio, and fallback recording checks before using the variant live.
Expected result: OBS receives the dedicated display's finished football picture rather than a particular application window.
Do not switch capture methods during a live play merely to experiment. Establish the alternative during rehearsal and keep only the intended capture source visible in the program scene.
Troubleshooting
The captured window is black or frozen
Confirm that Window still points to the intended application window and that the application is not minimized. Reopen the source properties and inspect Capture Method; test another available method against the same moving footage.
Keep OBS and the graphics application at the same Windows privilege level. If you cannot establish a stable moving picture, return to the clean-camera scene rather than troubleshooting on air.
The controls appear instead of the football picture
You selected an operator window rather than the finished-video window. Reopen Window Capture properties and choose the correct entry under Window.
If no selectable window contains the finished picture, stop this capture route. Cropping a control panel cannot substitute for an actual video output.
The graphics disappear behind another source
Check the stacking order in Sources. An opaque source above the graphics-bearing picture hides everything beneath it.
Also check whether both the clean-camera source and finished-picture source are visible. Use one intended full-frame picture in that scene instead of stacking competing versions of the same game.
Commentary echoes or does not match the picture
Inspect Audio Mixer for duplicated routes, such as the same commentary arriving through both an input device and desktop audio. Mute one route, record again, and compare.
For synchronization problems, use Advanced Audio Properties to inspect Sync Offset for the affected audio source. Adjust only after confirming the direction of the mismatch in a recording; an audio offset does not fix unstable video capture.
Field lines look wrong during camera movement
Check the finished picture before it enters OBS. If the placement problem already exists there, fix it in the graphics workflow or remove the graphic until it is correct.
OBS cropping and scaling change the entire captured picture. They do not independently align a virtual first-down line with the football field.
Customize your workflow
Build your 2026 workflow around operating responsibility rather than adding more sources. Decide who maintains field-line placement, who changes sponsor graphics, and who watches the final program picture. One person can hold several roles, but each action still needs an owner.
For schools, keep scene names and handoff instructions readable under game pressure. Independent crews should rehearse the arrangement they will actually travel with. TV broadcasters should check the OBS output against the receiving production system's requirements, including picture format and audio routing.
Add graphics progressively: establish a reliable finished picture, verify field lines, then check logos and sponsor graphics. Run a recommended 10-second recording after each change so a new problem has a clear starting point.
PayneXR football broadcast graphics software belongs upstream of OBS capture in this workflow: create the finished picture first, then verify what OBS receives. Treat every change to window layout, display assignment, or scene composition as a reason to repeat the capture check.
FAQ
How do I send PayneXR football graphics to OBS?
For the window-capture workflow, add the visible finished-video window as a Window Capture source in OBS. First confirm that the window contains the football picture with graphics already applied, then verify picture and audio in a local recording.
Does Window Capture give me a transparent football graphics overlay?
No, Window Capture does not automatically create a transparent graphics layer. This guide captures a finished football picture containing the graphics, so do not treat it as a separate transparent overlay.
Should I use Window Capture or Display Capture for football graphics?
Use Window Capture when the finished-video window captures reliably, and use Display Capture only for a controlled, dedicated display. Display Capture also includes other visible content on that screen, so notifications and operator windows require attention.
Can I run the graphics application on a different computer from OBS?
A separate graphics computer needs a verified video connection into the OBS computer. Selecting Window Capture on the OBS computer does not capture an application window running on another computer.
Why are my first-down lines missing from the OBS output?
Check that the selected capture window already contains the first-down lines and that another source is not covering it. If the lines are absent from the finished picture before capture, changing the OBS source order will not create them.
Will OBS keep virtual field lines aligned when the camera moves?
OBS captures the supplied picture; it does not independently align virtual field lines to the football field. Check placement in the graphics workflow and use the clean-camera fallback whenever the displayed line is incorrect.
What should I test before streaming football graphics live?
Record moving football video with graphics, commentary, and a switch to your clean-camera fallback. Review the recording for picture boundaries, field-line placement, audio duplication, synchronization, and unwanted desktop content.
One last thing
A working preview is not a finished broadcast check. Before the first 2026 game using this setup, close and reopen the applications, then repeat the capture and recording checks. A workflow that survives a fresh start is more useful than one that works only after an undocumented sequence of adjustments.